
You’re trying to join polypropylene and you have decided to weld the pieces together. However, it’s a daunting task as you know this cannot go wrong. You want to make sure you get the weld as perfectly as possible.
Here at Forgeway, we help industrial manufacturers with their adhesive challenges. Nonetheless, we understand that welding polypropylene is a popular method of joining. Especially as most adhesives struggle to bond to polypropylene.
So we want to share our knowledge on this topic with you. We are going to discuss the tips we have learned on how you should weld polypropylene.
These tips are pieces of information that we have learned from years of experience in the adhesive industry. We have seen polypropylene welding take place amongst our customers and want to share our tips on how you can ensure a strong weld.
By the end of this article, you will know what to do when welding polypropylene.
Why do you need to weld polypropylene?
Before you even start the welding process, are you sure this is the best method to join polypropylene?
You’ve likely researched this topic and discovered that there are two other joining methods; mechanical fasteners and structural adhesives. It’s often difficult to choose between mechanical fasteners and welding.
But when it comes to polypropylene, you are limited with choice. The reason for this is the fact that polypropylene has a low surface energy. This makes it difficult to adhere to.
Any substrate that has a low surface energy will either require a specialist adhesive, or specialist surface preparation. This is why most companies look at joining polypropylene with mechanical fasteners or welding.
Companies often choose welding as their joining method because it works and is relatively simple. Mechanical fasteners and structural adhesives will often require extensive surface preparation and it can go wrong.
Whilst welding is a lot simpler, that doesn’t mean it’s simple. That’s why we will go over this method and help you ensure you carry it out properly.
Alternatively, if you’d like to learn more about bonding plastics, make sure you sign up for the webinar. The Plastic Bonding Masterclass webinar will give you all the information you need to know about bonding plastics.

Step 1: Preparing Polypropylene for Welding
Before you start the welding process, you need to make sure you, and the plastic is ready. Ensure you are wearing the correct PPE (mask and glasses) to protect yourself from harmful fumes.
Firstly, you need to clean the surface of the polypropylene. You can use a solvent such as acetone with a lint-free cloth and clean the surface.
This will remove any dirt, dust, or other debris that may be present on the surface of the polypropylene, which could interfere with the welding process.
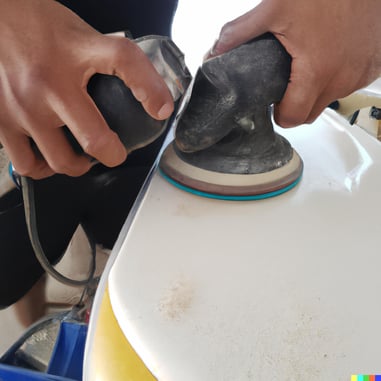
Next, you should use a fine-grit sandpaper to roughen the surface of the polypropylene. This will create a rough texture on the surface of the polypropylene, which will help the weld to bond more effectively.
After sanding the surface, you will need to remove any burrs or sharp edges from the polypropylene parts.
This will help to prevent the welding process from causing any damage to the parts. It will also make it easier to align the parts during the welding process.
The final step of the preparation process involves preheating the polypropylene parts. This will help to make the polypropylene more pliable and easier to work with, which will make the welding process more efficient and effective.
Step 2: Welding the Polypropylene parts in place
Now that you have prepared the surface of the polypropylene, it’s time to join the parts together. This part is the most difficult and crucial if you want to ensure a strong joint.
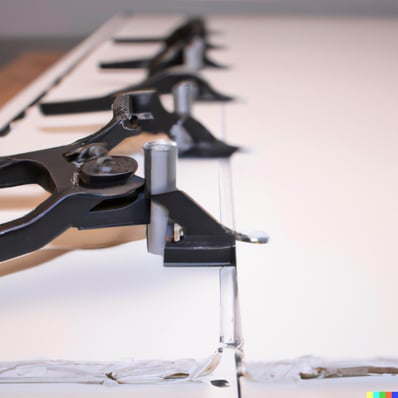
To start, align the polypropylene parts carefully and clamp them in place. This will ensure that the parts are properly positioned and that they will not move during the welding process.
Then, make sure you have allowed enough time for the plastic welder to heat up. We recommend ensuring the temperature of the welder has reached a minimum of 300℃. Anywhere between 300 – 325℃ is optimum.
Now, begin by tack-welding the ends of the joint if needed. You will only need to tack weld if the polypropylene parts are subject to movement during the welding process.
Next, you should place the welder onto the joint and begin heating the plastic. At this point, make sure you don’t leave the welder on too long that it burns the plastic. But also ensure that the welder has melted the plastic enough to form a strong join.
Run the welder along the joint at a speed that melts the plastic enough, but doesn’t burn it. If you find that the plastic is burning (a slight colour change will indicate burning), increase the speed at which you run the welder across the joint.
It usually takes around 3-4 runs to ensure the weld has created a strong joint. Once the joints have been melted together, carefully remove the plastic welder and allow the joints to cool. This will create a strong and durable bond between the polypropylene parts.
After allowing the polypropylene to cool for 10-20 minutes, you should test the strength of the weld. Apply gentle pressure to the joint to see if it holds. If the weld holds, it is ready for use. If the weld is weak and doesn’t withstand gentle pressure, it may be necessary to repeat the welding process to create a stronger join.
Step 3: Putting the finishing touches on the weld
As soon as you are happy with the strength of the joint, it’s time to put the finishing touches on the weld.
Carefully remove the clamps that you used to hold the polypropylene parts in place. Use a plastic scraper or knife to carefully trim any excess material from the weld.
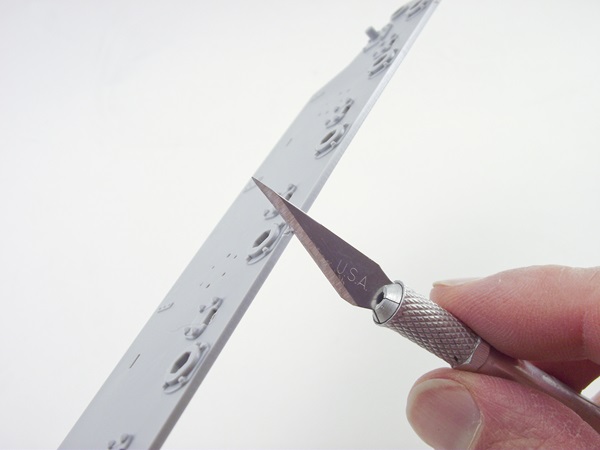
This will remove any excess plastic that may be present and will help to give the weld a clean and professional appearance.
Next, use a fine-grit sandpaper (we recommend 240 or 320-grit sandpaper) to smooth the surface of the weld. This will help to remove any rough or uneven spots and will give the weld a smoother and more uniform appearance.
When sanding, make sure the sandpaper doesn’t scratch the plastic as this can damage the aesthetic. However, you need to use a grit level that will effectively remove the excess, but won’t damage the plastic (around 240 grit works for us).
After that, use a solvent such as acetone to clean the weld and remove any debris or contaminants that may be present. This will help to ensure that the weld is clean and free of any dirt or other contaminants that could weaken the bond or cause the weld to fail.
Once the weld is clean and smooth, it is ready for use. The finished weld should be strong and durable and should have a professional and aesthetically pleasing appearance.
What to consider when welding Polypropylene
Whenever you need to join polypropylene, you first must consider whether welding is the best joining method for you. Now that you know how to join polypropylene, you are in a good position to ensure a strong joint.
Nevertheless, it’s not as simple as that. Joining polypropylene is difficult and welding is by no means the best method. Even though you now know how to join polypropylene, it doesn’t mean the joint is going to be strong.
You may find that the polypropylene weld isn’t strong enough for your requirements. If you find that to be the case, we thoroughly recommend you look into whether polypropylene welding is the best joining method for you.
If you want the help of an expert, reach out and a member of our team would be more than happy to help. Or, have a read of our article which discusses the pros and cons of polypropylene welding.
It will help you decide whether you are using the best possible joining method for your polypropylene application.
Or if you haven’t yet signed up to the Plastic Bonding Masterclass, make sure you click the button below to sign up.
Topics: